Super Simple Homemade Vanilla Almond Milk

There was a time in my life when the idea of making my own almond milk would have been unimaginable to me. In fact the idea of almond milk in general would have made me laugh and possibly even roll my eyes. But those times are long past and now I love and appreciate almond milk and all it's "sister milk" alternatives like hemp, cashew and especially macadamia nut milk (or "mylk" for all the dairy purists out there).
Once I learned how ridiculously easy it is to make nut and seed milk at home I started experimenting with ways to "spice" things up and while I have made all kinds of interesting and delicious nut and seed milks (chai spice pumpkin seed milk anyone?), I pretty much always come back to this tried and true favorite. It's great in matcha lattes and smoothies, perfect in my iced decaf cold-brew and downright addicting with my super crunchy granola. Plus making it at home means you know exactly whats in it (no added emulsifiers and not overly sweetened).
You start by soaking a cup of raw, unsalted almonds in water for at least 2 hours but preferably over night. Some people like to use boiling water and soak for 30 minutes (this is called the "quick soak" method) but I personally prefer soaking them for at least a few hours. The soaking does 2 things: it softens the almonds which helps the milk turn out more smooth and creamy and it helps deactivate something called phytic acid (a naturally occurring enzyme inhibitor) making it easier to digest.

After your almonds have soaked, it's time to rinse them well and then drain them.

Then put the nuts into your blender, along with 3 1/2 cups of water (preferably filtered), 1/2 teaspoon of vanilla extract and 1/4 teaspoon cinnamon. If you like your almond milk sweetened you can also add 2 or 3 pitted medjool dates. You can also use a vanilla bean but I often forget to buy them and just use vanilla extract instead.
A high speed blender like a Vitamix is helpful as it really pulverizes the almonds. I use my Vitamix at least 2x per day and often even more than that sometimes. While it was initially an investment, it has paid for itself a multitude of times over the years. Blend on high speed for 1-2 minutes until creamy and frothy.

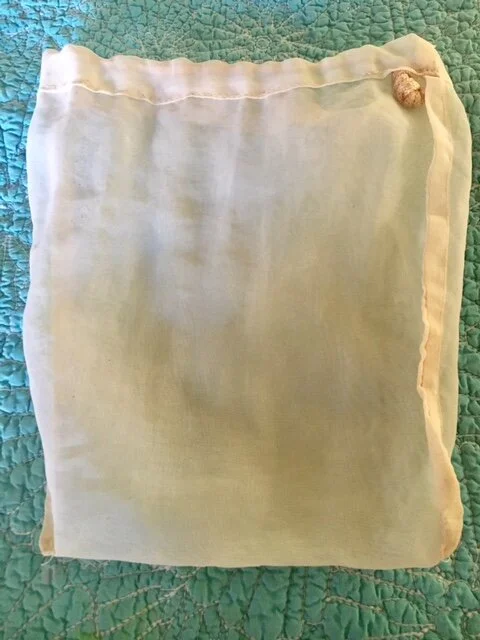
After blending it's time to strain the almonds through a nut milk bag. These are fine meshed bags that you can buy for under $10 and they look like this:
Open the nut milk bag over a large bowl or glass measuring cup and carefully pour the contents of the blender into the nut milk bag. Then gently and patiently squeeze the bottom of the bag until all the milk is out and you are left with only pulp in the bag. I emphasize gently because the first time I made almond milk I got impatient and squeezed too hard and ended up with pulp coming out the sides of the bag and getting all over everything. *oops


You can save the almond pulp and add to smoothies, or get creative and bake cookies with it! it lasts in the fridge for about 5 days.
Pour your almond milk into a jar with a lid and put it in the fridge. It will keep nicely for 4-5 days, but you will want to give it a shake before you use it as it tends to separate when sitting in the fridge.
You can experiment with using different nuts or combining nuts like almonds and cashews but the ratio of 1 cup of nuts to 3 1/2 cups of water will remain the same. Macadamia nuts are particularly rich and creamy and a little goes a long way. You can also try using seeds like pumpkin or sunflower and if you want a quicker milk, use hemp seeds. You don't need to soak or strain them!
Enjoy!
xo
Lisa

Super Simple Homemade Vanilla Almond Milk
Ingredients
Instructions
- Put all ingredients into a high speed blender and blend on high for 1-2 minutes.
- Strain contents of blender through a nut milk bag over a glass bowl or measuring cup, gently squeezing the bag until all the milk has come through.
- Pour milk into a glass jar with a lid and refrigerate. Save pulp to add into smoothies or smoothie bowls.